Running Gemma3 Locally with llama.cpp

In this guide, I will walk you through running the Gemma3 model locally using llama.cpp installed via Homebrew. You’ll learn how to run interactive text completions, enable vision support with an mmproj model, and even serve your model over HTTP — all without the hassle of manual builds.
Introduction
Gemma3 is a state-of-the-art multimodal model capable of processing both text and visual inputs. With the new llama-gemma3-cli binary, you can experiment with interactive text-based chats and image queries, while the llama-serverutility lets you expose these capabilities through an HTTP API. This tutorial provides a streamlined, step-by-step walkthrough using Homebrew, so you can get up and running quickly.
Prerequisites
Before you begin, ensure you have:
- Basic Command-Line Skills: Familiarity with Terminal or your preferred CLI.
- Homebrew Installed: We’ll use Homebrew exclusively for installing llama.cpp.
- Internet Access: To download packages and models.
Note: For users interested in building from source, please visit the llama.cpp GitHub page.
Installing Homebrew
Homebrew simplifies software installation on macOS and Linux.
On macOS:
- Open Terminal.
- Run
/bin/bash -c "$(curl -fsSL https://raw.githubusercontent.com/Homebrew/install/HEAD/install.sh)"3. Follow the on-screen prompts.
On Linux:
- Open Terminal.
- Run:
/bin/bash -c "$(curl -fsSL https://raw.githubusercontent.com/Homebrew/install/HEAD/install.sh)"3. Update your PATH by adding the following line to your shell profile (e.g., .bashrc or .zshrc):
eval "$(/home/linuxbrew/.linuxbrew/bin/brew shellenv)"4. Verify with:
brew --versionInstalling llama.cpp via Homebrew
With Homebrew ready, install llama.cpp (which includes both llama-gemma3-cli and llama-server) by running:
brew install llama.cpp --HEADThis method ensures you’re using the latest version without manual builds.
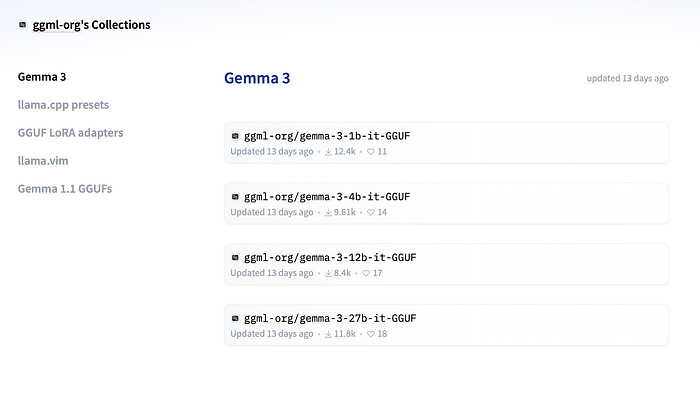
Obtaining the Gemma3 Models
Gemma3 Text Model
Download the text model in GGUF format from Hugging Face:
- Download Link:
Gemma3 Text Model on Hugging Face
If your model is not already in GGUF format, conversion scripts are available on the llama.cpp GitHub page.
mmproj Model for Vision Support
To enable vision features, you’ll need the mmproj (multi-modal projection) model. This model converts visual inputs into a format compatible with Gemma3’s text model.
- Pre-Quantized Download:
Download the pre-quantized version from same Hugging Face collection : https://huggingface.co/collections/ggml-org/gemma-3-67d126315ac810df1ad9e913. Also, Download themmprojfile in the same directory.
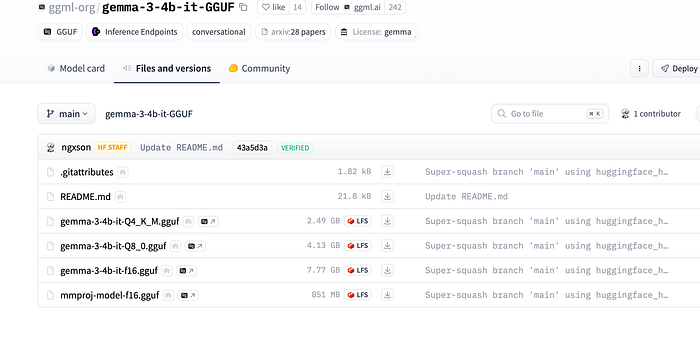
Place both the model.gguf (text model) and mmproj.gguf files in your working directory.
Running Gemma3 for Text Completion
- Run in Interactive Mode:
Launch the CLI for text-based interaction:
llama-gemma3-cli -m model.gguf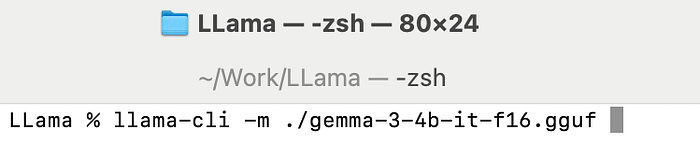
You’ll see a prompt where you can type:
> hi
Hello! How's it going today?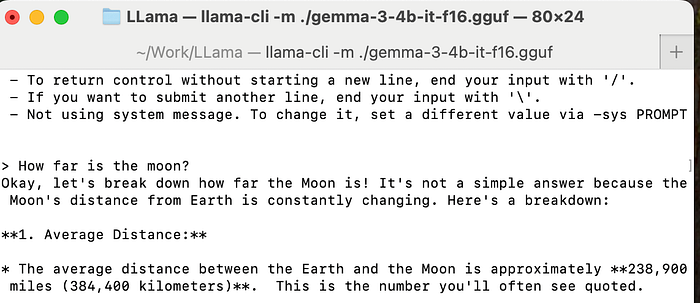
2. One-Shot Completion:
For non-interactive prompts, disable chat mode:
llama-gemma3-cli -m model.gguf -p "I believe the meaning of life is" -n 128 -no-cnv
Enabling Vision Capabilities
To activate image processing, run the CLI with the mmproj file:
llama-gemma3-cli -m model.gguf --mmproj mmproj.ggufVision Mode in Action
When running in vision mode, you’ll have additional commands:
Running in chat mode, available commands:
  /image <path>    load an image
  /clear           clear the chat history
  /quit or /exit   exit the program

> hi
Hello! How's it going today?
Load an image by typing:
> /image path/to/your/image.png
Encoding image path/to/your/image.png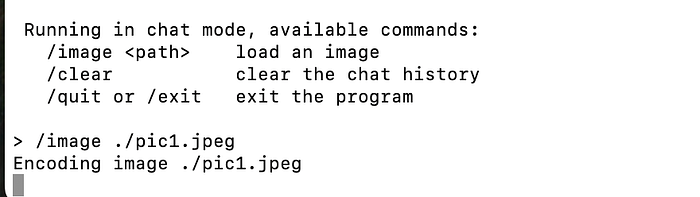
After the image is processed, you can ask questions about it:
> what is that
That's a beautiful image!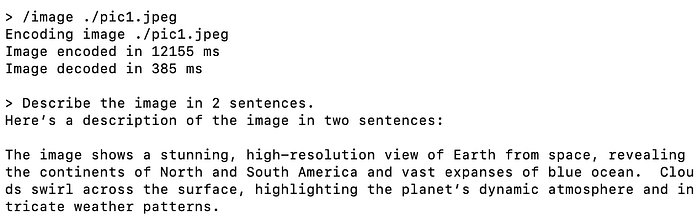
Running the HTTP Server
The llama-server binary allows you to expose Gemma3 via an HTTP API, perfect for web integrations.
- Start the Server:
llama-server -m model.gguf --port 80802. Access the Web Interface:
Open your browser at http://localhost:8080 for a simple web UI.
3. API Endpoint:
Use http://localhost:8080/v1/chat/completions for programmatic access.
Discovering Other Supported Models
llama.cpp supports many models beyond Gemma3. To explore the full list — including various text-only and multimodal options — visit:
Conclusion
Thus in this guide, we have learned how to run Gemma3 locally using llama.cpp installed via Homebrew.
We also learned how to:
- Install Homebrew and llama.cpp.
- Download the necessary Gemma3 text and mmproj models.
- Run interactive text completions and enable vision support.
- Serve your model via a lightweight HTTP server.
For further details or advanced configurations, check out the llama.cpp GitHub page. Enjoy exploring the versatile capabilities of Gemma3, and happy coding!
If you found this guide useful, please share your feedback or leave a comment.
